Negative Space Term 3

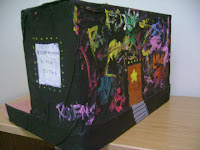
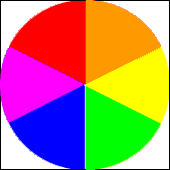
| In this term 3, we started a new art project about negative spaces. Negative spaces are the opposite of positive spaces. Positive spaces can be easily seen and that negative spaces are just the background, it is not really important. I drew a picture of 4-5 palm trees and a sailboat. I chose to draw this because I like the sea and there are a lot of negative spaces. The colors that I use to paint my drawings are cool, hot and a combination of both. I chose these colors because I think that it looks really good when it is together because the hot color stands out and also the cool colors stands out. The process of creating a negative space drawing is: 1. Plan what picture will you draw (should have a lot of negative spaces) 2. Draw a margin on all of the three drawing paper 3. Start drawing your picture on the drawing paper (the pencil lines should be soft) 4. Plan on the colors you want to paint on your drawing 5. Then start painting your drawing 6. After finish painting, leave it to dry 7. Use the paper cutter to cut all of your margins 8. Stick double sided tape on each of the paintings 9. Stick the paintings on a black paper that Mr. Pat provided for us 10. Then you have a negative space painting! I think that the thing that I did well was blending the colors together cool, hot and a combination of both hot and cool colors. I think that the things that I could improve is I should try and think of a new design for the negative spaces like try to use geometric shapes and some fancy lines to make my painting better. |


